
Here's how I made my flowers.
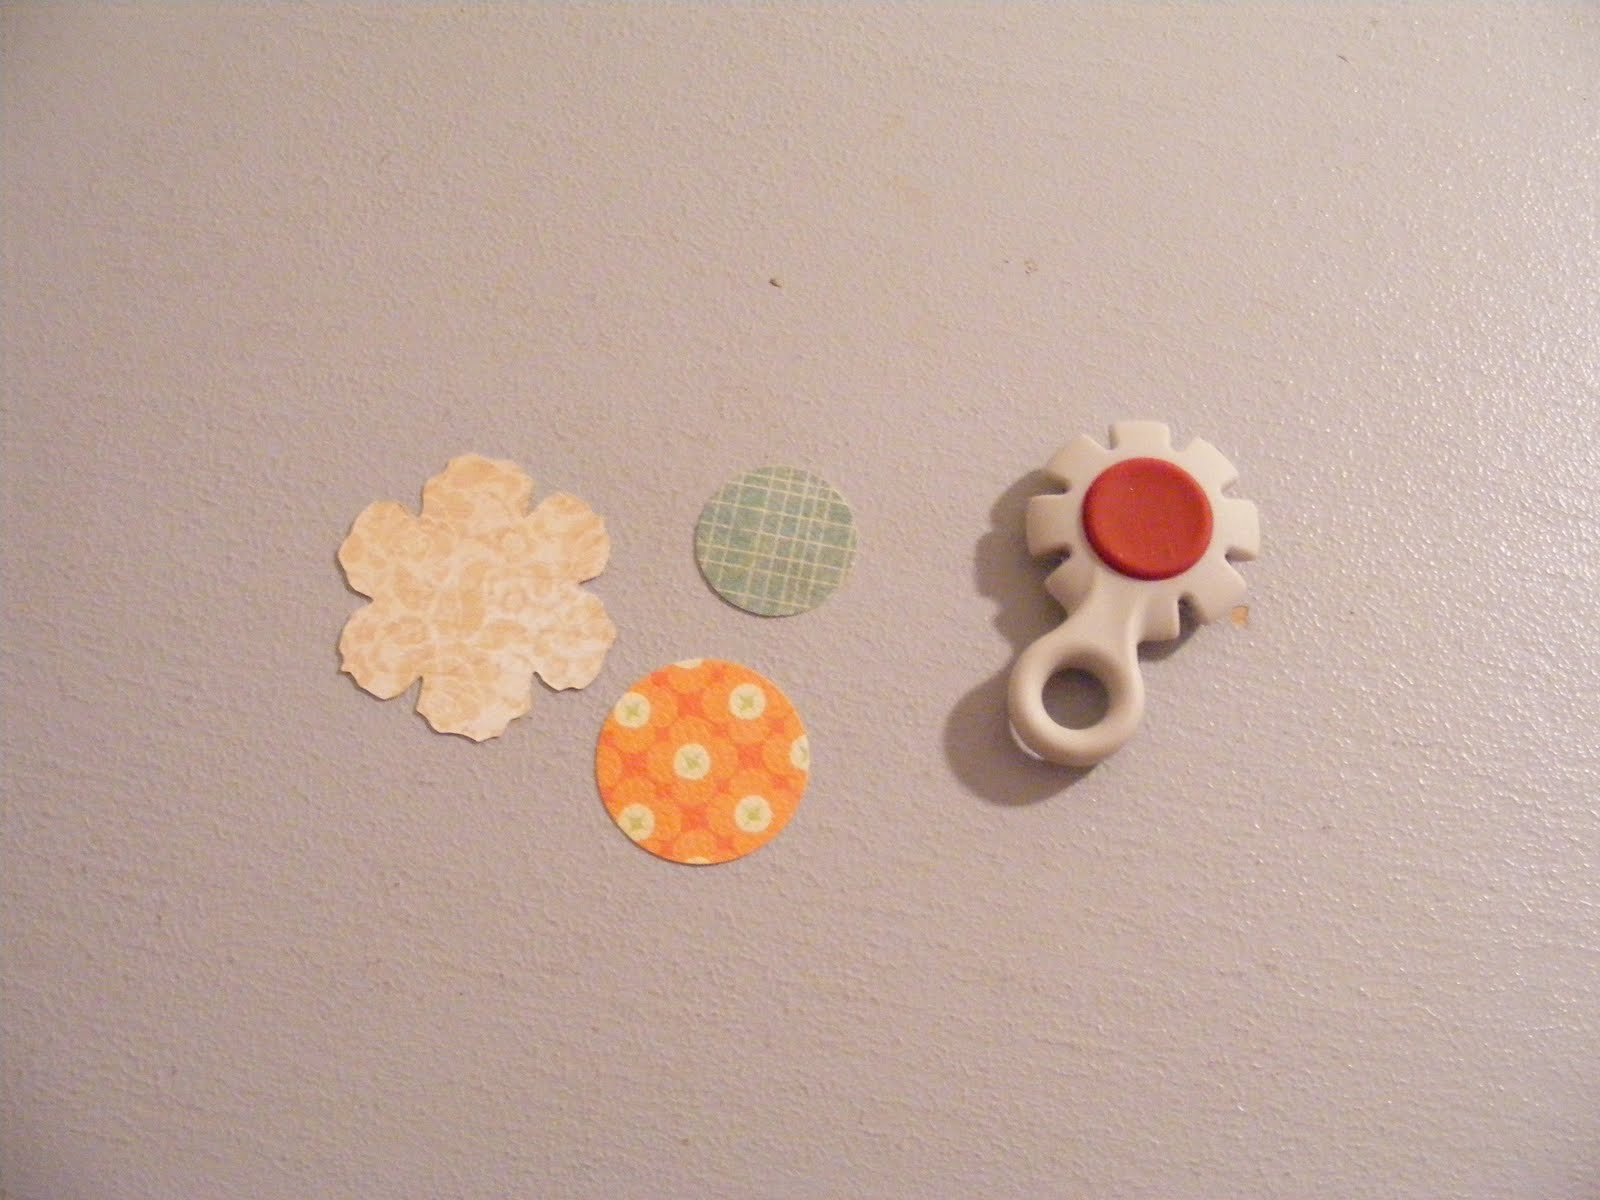
Step 1: Find all your pieces*. There are two six-petal flowers, two larger circles and two smaller circles. Good job! (*These papers are different then your kit. Please refer to the photo for the correct papers for your kit.)
Step 2: You are going to distress the edges of your circle. You can do it either by using a little distressing tool or your fingers. I really like the Tim Holtz paper distresser. It's been quite handy. I found it Heartland Paper recently and I like it much better then my old Heidi Swapp one. If you have a distresser like this, just rough up your edges. Otherwise, use your fingernail to scrap along the edges of your circle to rough it up. You can even get the paper just a titch wet to help the process along a little bit. Be careful not to tear your paper and let them dry completely before you glue them together.

Step 3: Crumple all of your pieces. I love the dimension it adds!

Step 4: Layer and glue your flower together. I like glue dots or hot glue since they are quick.

Add your top embellishments and glue to your letters. So cute!

Other details, bend all the butterflies wings out and/or roll under and use a pop dot underneath them. Tie a bow to the upper part of the letter "S" and glue a cream butterfly on top of it, then glue the patterned butterfly on and add two gold pearls.

Use a dab of hot glue on the back of the birds beak and hold the wire in place until glue cools down. Then glue the flower to the end of the wire. Tie a ribbon the birds stand and your little set is complete!

If you have any questions, please feel free to ask. Thank you and enjoy!


No comments:
Post a Comment